

How to Move Crypto Transaction History from One Tracker to Another
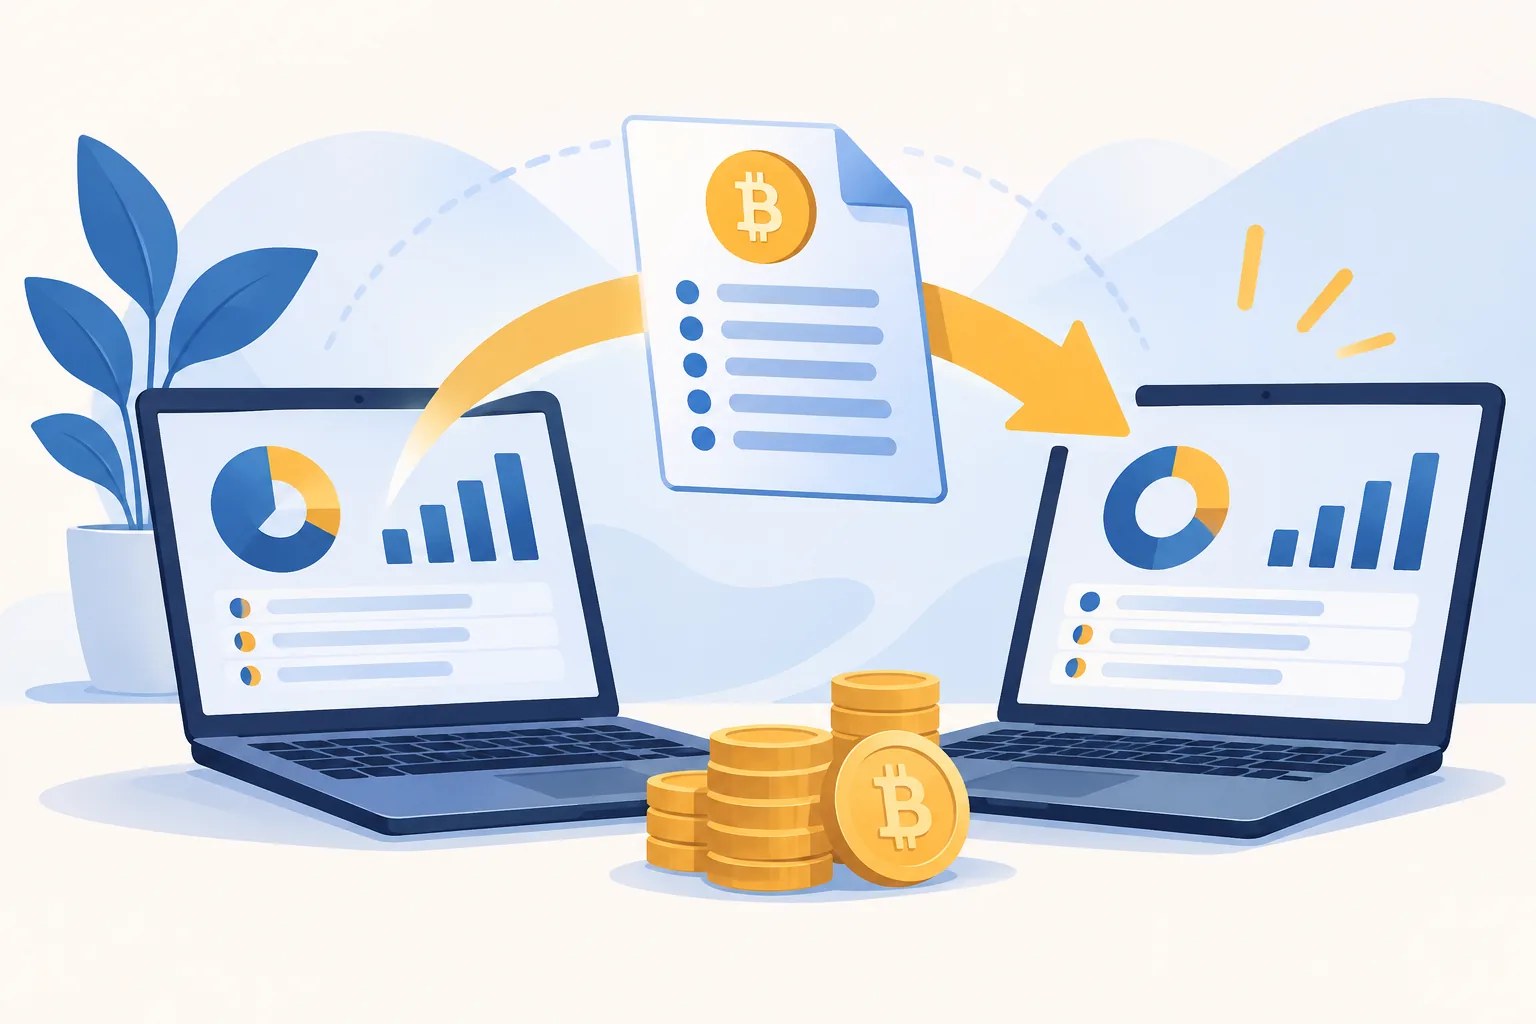
Changing portfolio trackers can seem like a simple file transfer. The difficult part is preserving the details that explain each record: which wallet it came from, whether a transfer was internal, and what note you attached to it. A CSV may contain the visible transactions but leave out labels or other context. A careful move gives you a usable history in the new tracker and a reliable reference if something does not match.
If you are searching for how to move crypto transaction history from one tracker to another, treat it as a migration rather than a one-click import. The destination may read the same row differently, especially if its fields or rules differ from those in the old app. The checks below help you find those differences before you rely on the new tracker.
1. Identify what must carry over
Start by defining the scope. Write down the date range you need, every wallet and exchange account included in the old tracker, and the records you expect to see in the destination. Do not limit the list to trades: deposits, withdrawals, fees, staking rewards, airdrops, and transfers between your own wallets may matter too.
Look beyond the transaction list. If you used labels, custom notes, cost-basis adjustments, or account names, decide whether those details need to move as well. A transfer marked “between my wallets” has a different meaning from a withdrawal to an unknown address, even if both rows show an outgoing asset movement.
Make a short inventory before exporting. For example, you might list two exchange accounts, three wallets, and all records from the first date you used the old tracker through the latest completed day. That inventory becomes a checklist for the destination, and it can reveal an account that was connected but never included in the migration.
2. Check what the destination tracker can import
Read the destination tracker’s current import documentation before preparing files. Check which formats it accepts, which transaction types it recognizes, and what columns it expects. Product features can change, so verify current limits, supported fields, and import behavior in the tracker’s documentation rather than relying on an old tutorial.
Compare that information with the source tracker’s available exports. One app may provide a general CSV, while another separates trades, transfers, and rewards into different files. The destination may accept a CSV but require specific column names, or it may offer an exchange connection without importing historical notes. These are gaps to resolve before you start.
Pay special attention to transaction types. If the destination has no direct category for a particular reward or adjustment, do not silently relabel it as a trade. Check the tracker’s guidance or ask its support team how to represent that record. A wrong category can affect later reports even when the asset amount appears correct.
3. Preserve the old tracker’s records before changing anything
Keep a local copy of the source data before editing or disconnecting anything. Save the original export files in a clearly named folder, with the tracker name and date range in each filename. If the old app allows separate exports for transactions, labels, notes, or account settings, save those too.
Do not overwrite the original files while cleaning up columns for import. Make a working copy instead. That way, if a value is changed accidentally or a batch is rejected, you can compare the edited file with the source. A simple read-only archive is often enough; the key is being able to find the untouched version later.
Where export options do not include notes or settings, preserve them another way. A dated screenshot or a short written record may help, though it will not replace structured data. For example, record that a particular wallet label in the old app referred to your hardware wallet, not an exchange account. Keep that reference beside the export.
4. Map source fields to destination fields
Before importing, compare the source and destination columns one by one. At minimum, look for timestamps, asset symbols, quantities, fees, transaction IDs, and labels. Check whether the destination expects a date in a particular format, a fee as a separate value, or an asset code that differs from the source’s symbol.
Do not guess when a field has no clear equivalent. If the source uses one column for a transaction type and the destination separates type from direction, confirm how to map it. An incorrect mapping can turn a deposit into a trade or make an outgoing transfer look like a sale. Note any uncertain fields and resolve them against current documentation.
Timestamps deserve a close look. The source may record local time, while the destination may display UTC or convert dates according to account settings. A record near midnight can appear on a different calendar day after import without being missing. Compare the timestamp and transaction ID, not just the displayed date.
Asset symbols can also be ambiguous. If two assets share similar labels or a tracker uses a renamed symbol, verify the asset identity before accepting the mapping. For on-chain transactions, a transaction ID or wallet address can help distinguish records that have the same date and amount.
5. Import in a controlled sequence
Begin with a small, representative sample rather than uploading every file at once. Choose a few records that cover different cases: a trade with a fee, an incoming transfer, an outgoing transfer, and a record with a custom label. Import them into the destination and inspect the resulting entries before continuing.
Check whether the destination interpreted each sample as intended. Confirm the asset, quantity, timestamp, fee, transaction type, and any available note. If the import preview shows a warning or a field has shifted into the wrong column, stop and correct the working file. A small test can prevent a large cleanup.
Once the sample looks right, import the remaining history in manageable batches. You might separate files by account or date range, depending on the tracker’s instructions. Keep a note of each file imported and the date you imported it. If one batch fails, that log helps you identify what remains without repeating the entire process.
If a batch is rejected, save the error message and the rejected file. Avoid repeatedly uploading the same file until you know whether the first attempt created partial records.
6. Prevent duplicates and reconcile totals
Before importing, check whether the destination already syncs the same wallets or exchanges. If an account connection is active, the tracker may have already pulled in some or all of the history. Importing a file on top of synced records can create duplicates, even when the rows look almost identical.
Find out how the destination detects duplicates. If duplicate handling is unclear, test a known record or ask support before loading the full history.
After each batch, compare the destination with the source. Check transaction counts for the same account and date range, then compare balances at a few points in time. Review representative deposits, withdrawals, trades, and fees. Matching totals alone are not enough: two missing records and two duplicates can cancel each other out.
Transfers between your own wallets need particular care. The source tracker may show both the outgoing and incoming sides, while the destination may pair them as one internal movement. Confirm that the asset amount is not counted twice as a gain or loss. If a transfer has a network fee, make sure that fee remains visible as a separate cost where the destination supports it.
7. Resolve unmatched or altered records
Review any rejected rows, import warnings, and entries the destination has classified differently. A missing transaction ID may prevent a match; a blank fee field may be valid for one record but not another. Correct the destination entry or the working import file only after checking the original source data.
Look for timezone shifts and changes in transaction categories. If a record appears on a neighboring date, compare its exact timestamp and identifier before treating it as missing. If a reward appears as an ordinary deposit, check whether the destination offers a more suitable category and whether changing it affects reports.
Keep a migration log with the file name, date imported, errors found, and corrections made. For example, note that one row was assigned to the wrong wallet because the source export did not include a wallet label. This record of changes makes later review easier and helps explain why the destination differs from the untouched source file.
8. Confirm the migration before retiring the old setup
Do not disconnect the source tracker as soon as the import finishes. First confirm that the intended date range is present, that each wallet and exchange account is represented, and that important notes and labels survived or were preserved separately. Recheck the records that were part of your sample test, plus any rows that produced import warnings.
Save the final import files and your reconciliation results alongside the original exports. If you made corrections, keep both the untouched file and the corrected working version, with clear filenames. That gives you a trail from the source record to the destination entry if you need to revisit a mismatch months later.
Only after those checks should you decide whether to disconnect or stop using the old tracker. You may keep read-only access for a while if the service allows it. If you do close the account, confirm that you have saved the records you need and that the destination’s key transactions, balances, and notes are available for review.