How to Move Crypto from Coinbase to Binance
How to Move Crypto from Coinbase to Binance
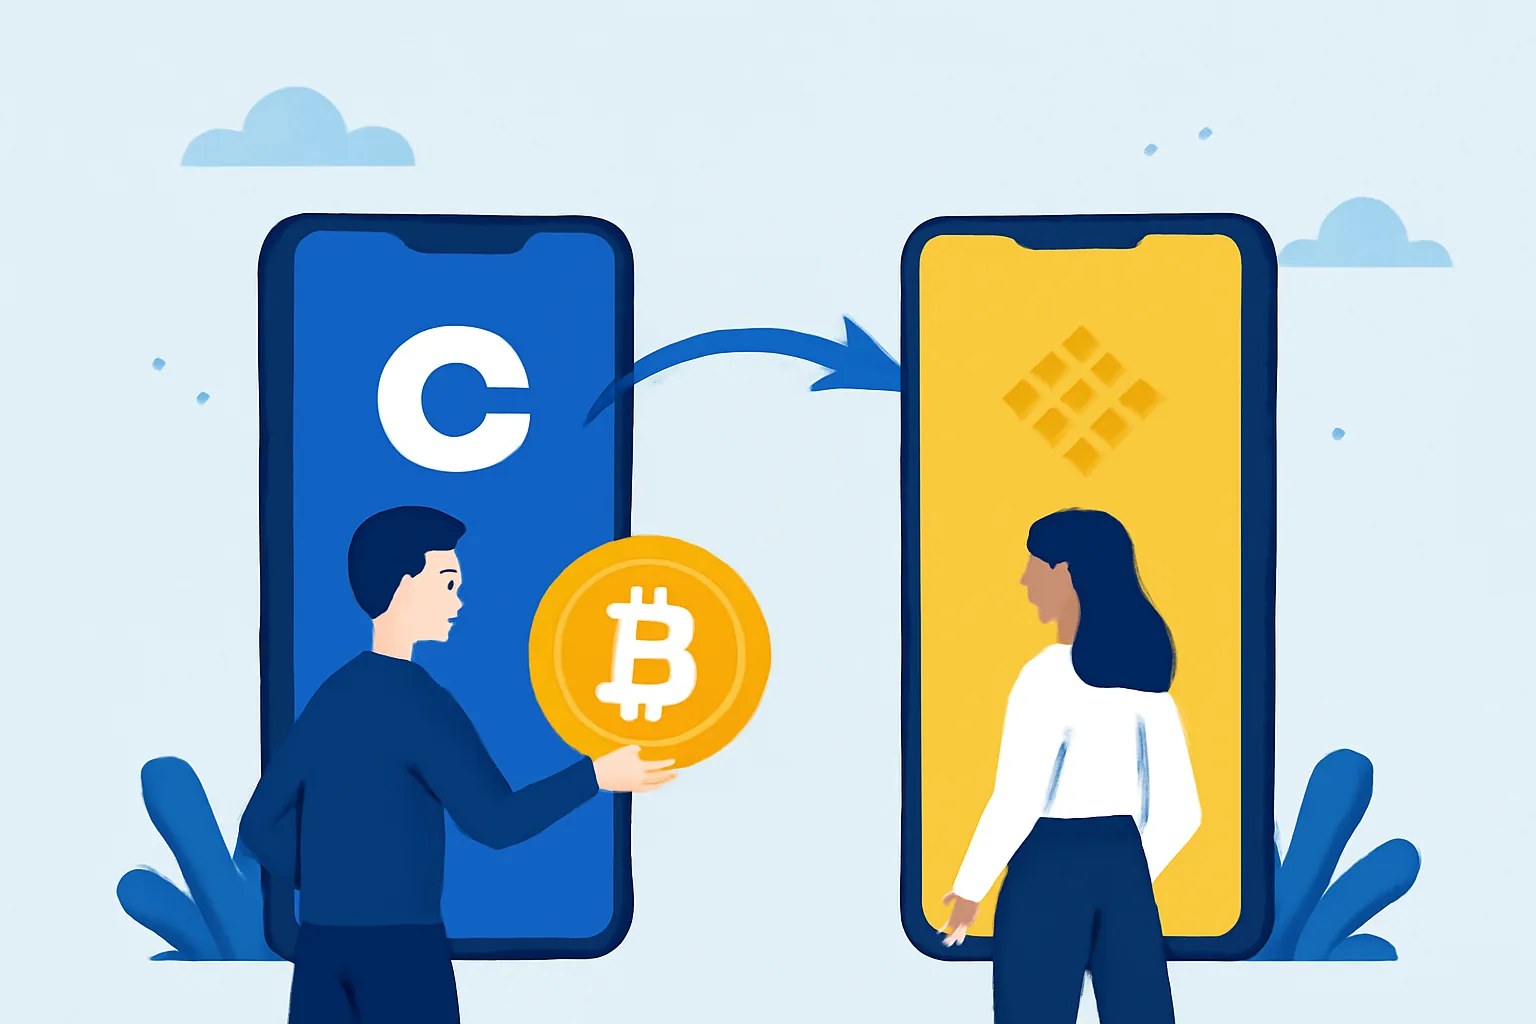
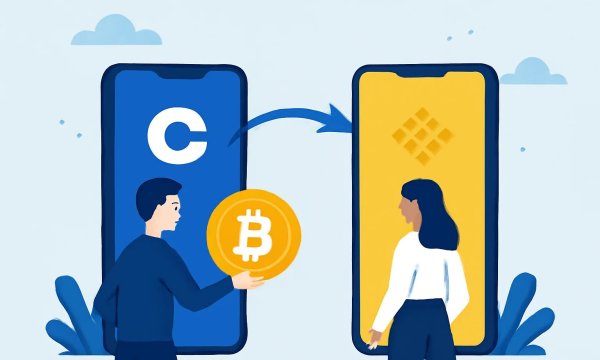
If you are wondering how to move crypto from Coinbase to Binance, the short version is simple: get the right Binance deposit address, send the same coin on the same network, and confirm the transfer before you click anything final. The long version matters more, because one wrong network choice can turn a clean transfer into a support ticket that drags on for days.
This is not a hard process, but it does punish rushed clicks. Coinbase and Binance both make the steps visible, yet they do not protect you from choosing the wrong chain, the wrong memo, or the wrong asset. That part is still on you.
1. Check What You Need Before You Start
Before you open either app, check four things: account access, identity verification, the crypto asset, and the network. If your Coinbase account is locked, or your Binance account still needs a security check, stop there. You cannot send funds cleanly from an account you cannot fully control.
Pick the exact coin first. BTC is not ETH, and USDT can live on several networks that do not speak to one another. That sounds obvious. People still miss it.
One practical example: if you hold Ethereum on Coinbase and want to deposit it to Binance, you need to know which network Binance expects for that asset. The coin name alone is not enough. The network decides whether the transfer lands or vanishes into a recovery queue.
If you are unsure which network the exchange supports right now, check current help pages before moving anything. For a broader look at platform safety, see what changed in crypto exchange security. Security settings change faster than people expect.
2. Create or Log In to Your Binance Account
Open Binance and log in with the account that will receive the crypto. If you are new, create the account first and finish the required identity checks. Binance may ask for email confirmation, two-factor authentication, and other security steps before it lets you use deposit features.
Do not skip those steps. A half-set-up account can look ready and still reject a deposit workflow later. That is annoying, and it is avoidable.
Check that your Binance wallet area opens without warnings. If the exchange asks you to confirm a device or review a security prompt, handle that before copying a single address. A clean receive account is the goal here. Not a rushed one.
If you are still choosing where you want to trade more often after this transfer, this guide on how to choose a cryptocurrency exchange may help you compare fees, access, and supported assets with less guesswork.
3. Find Your Binance Deposit Address
Inside Binance, go to the deposit area and select the exact coin you plan to receive. Then choose the matching network. Binance will generate a deposit address, and sometimes a memo or tag as well. Copy both if the asset requires both.
Do not assume every coin uses the same format. XRP, XLM, and some other assets often need a memo or tag. Missing that tag can cause the funds to arrive at the exchange without being credited to your account right away. That delay is common enough to deserve respect.
One short rule helps: if Binance shows a memo or tag, copy it exactly. If it does not, leave it alone. No improvisation.
The address itself should be copied directly from Binance, not typed by hand. A single wrong character is enough to send funds somewhere else. That is one of those mistakes people only make once. If they are lucky.
For traders who care about liquidity and order flow later, it can also help to understand what crypto exchange trading volume means. A large transfer is one thing; a good market is another.
4. Open Coinbase and Start a Crypto Withdrawal
Now open Coinbase and choose the asset you want to move. Find the Send or Withdraw option, depending on the app screen you see. Coinbase will ask where you want to send the crypto, and this is where you paste the Binance deposit address.
Before pasting, make sure the asset on Coinbase matches the asset on Binance. Sending BTC to an ETH address does not create a clever workaround. It creates a problem.
Enter the amount you want to move. Some users send a test amount first, especially if the asset is expensive or the network is unfamiliar. That costs a little extra time, but it can save a lot of stress.
If Coinbase asks you to choose between available networks, pause and compare that option to the network you selected on Binance. The transfer only works cleanly when both sides agree. Matching names matters more than speed here.
5. Match the Network and Double-Check Transfer Details
This step deserves a slow look. Check the network name, the destination address, the memo or tag if one is required, and the fee shown by Coinbase. If anything looks different from what Binance displayed, stop and recheck. Do not guess.
Network matching is the point where many users make mistakes. For example, if Binance gave you a Base address for a token and Coinbase is set to send on Ethereum mainnet, the transfer may not appear where you expect it. Some assets are recoverable. Some are not. That difference matters.
Read the full destination string before confirming. A good habit is to compare the first 4 characters and the last 4 characters against the Binance screen, because that catches obvious copy errors without forcing you to inspect every single digit manually. It is a small habit. It saves money.
Here is the part to remember: once the transfer leaves Coinbase, the blockchain does not care that you were in a hurry. Fees may be shown before you confirm. If the fee looks wrong, stop and compare with the asset and chain you selected.
People who move funds often also want to understand exchange withdrawal behavior more generally. This piece on crypto exchange withdrawal limits is useful if your transfer size bumps into platform rules or daily caps.
6. Confirm the Transaction and Track the Transfer
After you review everything, confirm the withdrawal in Coinbase. You may need to approve it with two-factor authentication, email verification, or a device prompt. That extra step is not decoration. It is the last checkpoint before the transaction hits the network.
Once confirmed, Coinbase should show a transaction status. It might say pending, processing, or broadcast, depending on the coin and chain. The blockchain then takes over, and confirmations begin to accumulate. That can take minutes, or longer, depending on network load.
Do not refresh your wallet every ten seconds. It will not make the chain move faster. It just makes you uneasy.
If you want to understand why some deposits reach an exchange quickly while others linger, it helps to read about order books, liquidity, and routing. For comparison, how to use a crypto exchange covers platform tools that also shape how trades and balances show up once a transfer lands.
7. Verify the Crypto Arrived in Binance
When the blockchain confirms the transfer, open your Binance wallet and check the balance for that coin. If the amount is there, the job is done. If the balance has not updated yet, check the transaction status on the blockchain explorer and on Coinbase first.
Sometimes Binance credits a deposit after a delay, especially if the network is busy or the asset needs more confirmations. That is not fun, but it is normal. Other times, the memo or tag was missing, and the exchange needs support intervention to match the deposit to your account.
If the transfer is still missing after normal confirmation time, collect three things before contacting support: the transaction hash, the sending address, and the exact receiving address. Support agents can work faster with those details. Vague messages help nobody.
A final check is worth doing even after the balance appears: confirm that the amount credited matches what you sent, minus any network fee. That fee is taken before the coin arrives, so the deposited amount may be a little lower than the amount you typed into Coinbase. Not a loss. Just how the network works.
For readers who care about platform trust as much as transfers, this article on crypto exchange proof of reserves explained gives extra context on why some users prefer one exchange over another before they move funds.
Practical checks that prevent most transfer mistakes
Three checks catch most errors: the coin name, the network, and the memo or tag. If all three match on Coinbase and Binance, you are usually in good shape. If one of them does not, stop and fix it before sending.
Some assets are more sensitive than others. Stablecoins are a common example because the same ticker can exist on multiple chains. One USDT transfer may use TRC-20, another may use ERC-20, and a third may use a different supported chain entirely. The ticker alone does not save you.
Ask yourself one direct question before every withdrawal: does Binance show the same network Coinbase is about to use? If the answer is no, do not continue. That is the cleanest line in this whole process.
What to do if the transfer gets stuck
If the transfer seems stuck, wait for the blockchain explorer to show enough confirmations before contacting support. A pending status is not the same thing as a failed transfer. Sometimes the chain is simply busy.
If the status is confirmed on-chain but Binance still does not show the funds, check whether you forgot a memo, sent on the wrong network, or copied the wrong address. Those are the three usual suspects. Not glamorous. Very real.
If the funds were sent to the right address on the wrong network, recovery may or may not be possible, and exchange support will tell you what they can do. That is why the address and network checks deserve the extra minute at the start. Minutes are cheaper than recovery work.
One last habit helps if you move crypto often: keep your transfer notes in one place, including the coin, network, and date. A simple record on your phone or spreadsheet makes it much easier to trace old transfers later, especially when you are handling more than one asset in the same week.
HYIP Articles

Random quote about money
"Источник любой независимости - независимость материальная."
Interesting posts in other sections of the blog









 ↑
↑
* to search the proxy database, just enter a country name, e.g. Russia, USA, Thailand